Good recording practices for successful lecture recordings
Microphones
The most common cause of problems with recordings is poor sound quality/variable volume – this is almost always caused by failure to use the radio mics. provided.
The majority of spaces are supplied with radio mics, where they are not present sound is captured by other microphones in the space.
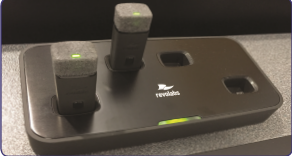
Remove the microphone from the charging dock and clip to clothing - the microphone will work after a few seconds; indicated by a green flashing light. After use please remember to return the microphone to the charger. |
Note that recordings start/end automatically at the scheduled time – conversations with students/colleagues at the beginning and end of the lecture or during breaks may be picked up at the podium and away from it if the radio mic. is still being worn – avoiding this can help save unnecessary editing later.
Q&A if you hold Q&A sessions during your lecture, remember that audience voices do not capture well – it helps the final recording if you repeat questions before answering.
Cameras
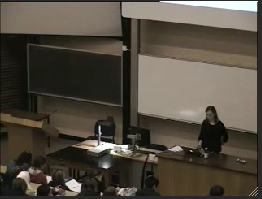
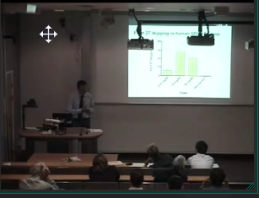
The cameras in lecture spaces are focussed on the front desk/podium area. Some have a wide angle and some have a narrower angle – if the intention is to include a presenter video component
as part of the recording (not all lecturers choose to) staying in the region of the podium will help ensure that you stay in shot – if your style is to move around the theatre as you talk you might
consider not including the presenter video component of your recording – non-inclusion of presenter can be requested when the recording is booked).
| |
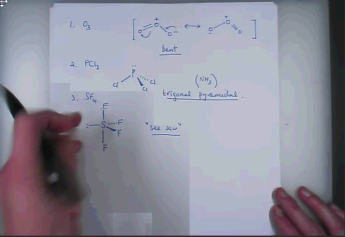
Do NOT rely on the camera to capture what is written on a whiteboard in the room.
|
Laser and physical pointers are not captured, using them to refer to particular areas of diagrams will be confusing for those watching a recording of the lecture.
An alternative is to use the computer/mouse cursor as a pointer.


