A Quick Guide to capturing images with Volocity
Volocity is an acquisition and analysis software for Macs and PCs. This guide is intended to give a brief introduction to Volocity acquisition for basic microscope/camera combinations. You can also use Volocity to control automated microscopes for time-lapse acquisition but that is beyond the scope of this guide. Please see the Volocity User Guide for more information. Volocity is no longer being developed by Perkin Elmer so camera acquisition will be migrating with time to Micro Manager.
Make sure the camera is on before opening Volocity, then click on its icon in the Mac dock or double-click its icon on the PC desktop.
![]()
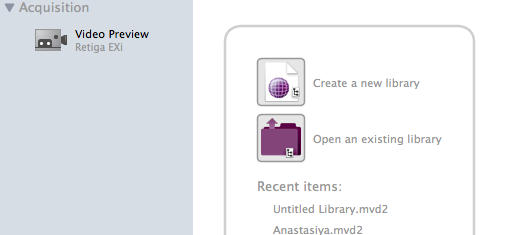
Creating a new library or opening an existing library in Volocity
Images in Volocity are stored in databases called Libraries. When you open Volocity you must either create a new Library or open an existing Library. I would recommend creating a new library for each session so that you don't lose all your data if a library becomes corrupt. Once you've created or opened a library, click on the Video Preview icon to see the live view from the camera and the video controls.
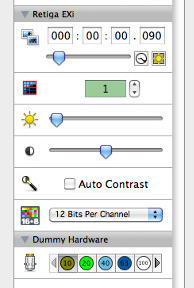
The live preview and video controls
The Volocity acquisition user interface is made up of three sections. There is the library view on the left where the Video Preview icon is and where image icons will appear when you capture them. There is the live preview from the camera that occupies most of the space and the Video Controls on the right. The main video controls for a basic camera system are exposure, binning, gain, capture depth and auto contrast. There will also be a video control for objective lenses. Make sure you select the right objective lens so your image is calibrated correctly. If you are using a manual microscope then the objective lenses will appear under Dummy Hardware. When you change the objective on the microscope stand you will also need to select it in the software. When you change the camera binning factor the size calibration automatically changes. Auto contrast helps you see dim fluorescent signals by re-scaling the intensities without changing the underlying data.
Colourising images and creating merges
To change image colours in Volocity highlight the icon of your image in the library view and select Tools > Change Colors... from the main menu. To merge images highlight all the images you want to merge and then select Actions > Create New > Image Sequence from Selection. Check that the number of Channels, Timepoints and Z-slices are correct. If they are not correct you can edit them at this stage. You can also change the colours of the individual channels after merging.