Using PeerMark
Contents
What is PeerMark?
PeerMark is a way for Moodle editors to set up a peer review for student submissions to Turnitin assignments which can exist before or alongside the standard tutor assessment. PeerMark is feedback only from the student reviewers i.e. no grade or numeric mark but reviewers receive a mark for their review.
The basic stages of a PeerMark activity are:
- Staff set up a Turnitin assignment to which students submit their work.
- Staff set up an associated PeerMark, including review questions, setting how many pieces of work each students review, by when, how allocated, whether anonymous &c.
- Students submit their work to the Turnitin assignment.
- Students review others' work.
- Students receive the feedback given by their peers, along with a mark for their own review(s).
- [[CHECK]] Depending on the timing, students can then incorporate this feedback into a final submission
What might PeerMark help with?
- Students understanding of and ability to work with assessment criteria.
- Providing feedback on students' draft work - given sufficient time for amendments before the deadline. (Worried students might take each others' ideas? See below.)
Setting up a new PeerMark Assignment
First set up your Turnitin assignment as normal. |
|
In the Submission inbox for your assignment, click on the 'Launch Peermark Manager' icon |
|
If this is your first PeerMark assignment you can click on the 'create a new PeerMark assignment' link. |
|

PeerMark Assignment settings
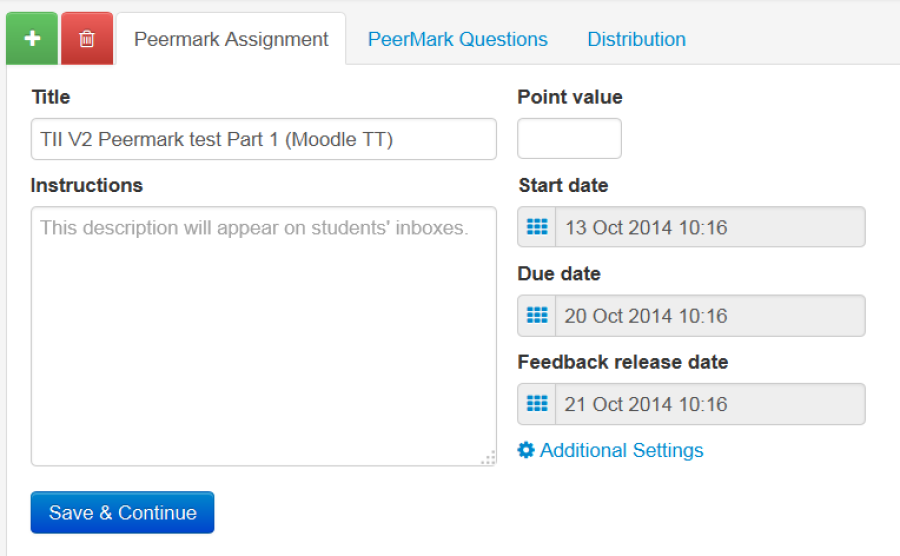
In the 'Peermark Assignment' tab of the PeerMark Manager you enter basic information about the activity. Title This will appear for students and should be distinctive and descriptive. Point value (required) This is the marks available for the peer review itself - i.e. not for the reviewed work. Instructions to students Start date, Due date, Post date
|
|
|
|
Adding Questions
The 'PeerMark Questions' tab of the PeerMark Manager allows you create the questions you want the peer reviewers to answer. To add a question, click 'Add question' |
|
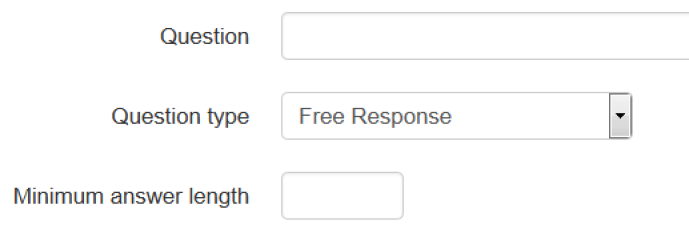
Enter your question text, the question type. There are two types of question you can use; |
|
For a 'Free response' question, enter the minimum answer length (this counts words). |
|
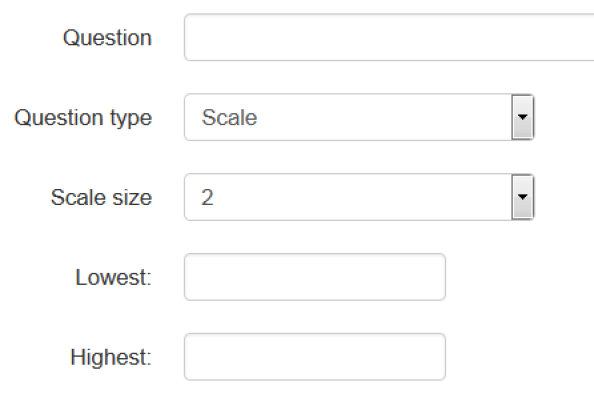
For a 'Scale' question, enter the scale size and the lowest and highest values |
|
You can also use libraries to manage your Peermark questions. Clicking on Library Settings allows you to create and delete libraries, and to save and retrieve questions from those libraries. There is also a 'Sample Library' which you can add pre-made questions from. |
|
Short ped considerations |
|

Distribution
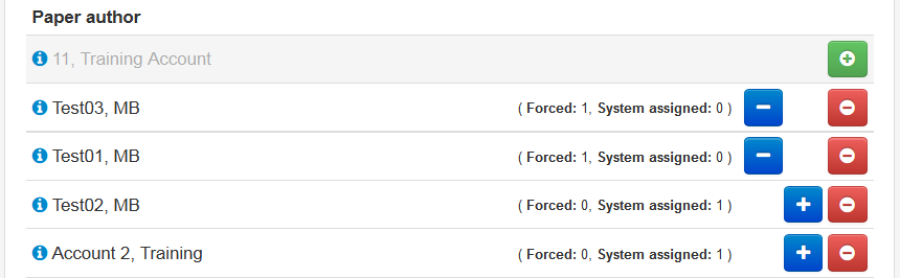
In the 'Distribution' tab of the PeerMark Manager you can see all the student accounts associated with this assignment. If you can't see all the accounts you are expecting, click outside of the Peermark Manager to return to your Turnitin assignment page; then click its 'Turnitin Students' tab. From there you can click 'Enrol all students', which will associate all students 'enrolled' in that Moodle course area with the Turnitin Assignment you're working on |
|
If you need to exempt student from the PeerMark activity, you can do so by clicking their adjacent red minus icon. Similarly you can add exempted students by clicking their green plus icon. If you want to pair students (so that a particular student is allocated the work of another particular student to review, overriding any other distribution settings) you can do so by clicking the blue plus icon and then selecting a student to pair with from the dropdown list. Paired students are then required to review the work they are allocated.
|
|
|
|
Additional Settings
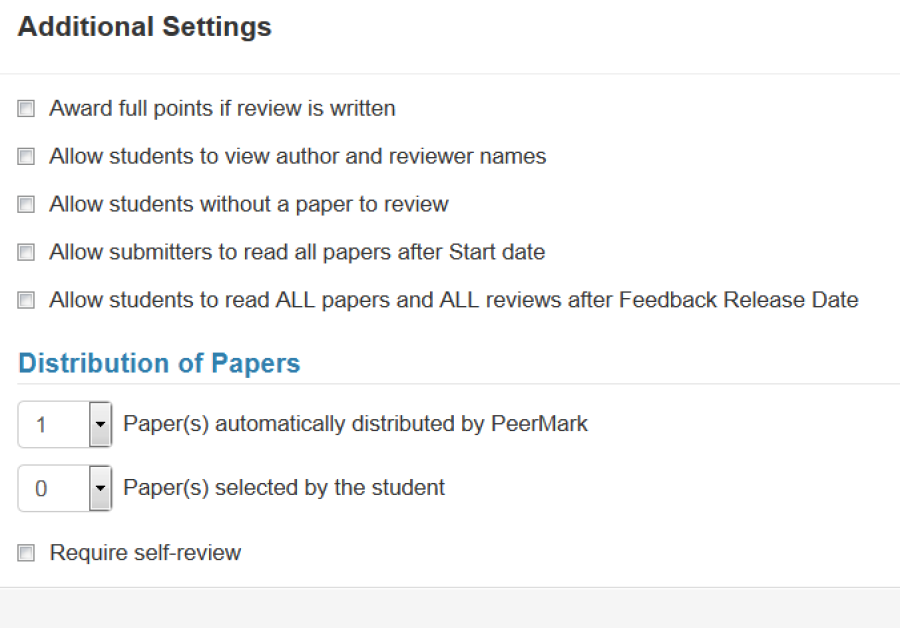
On the 'Peermark Assignment' tab there is a link for additional settings. Here's some explanation of the less obvious ones. 'Award full points if review is written' If ticked this means tutors will not be able to mark the reviews and a student will need to meet set requirements for every part of the review in order to get the available marks, on an all-or-nothing basis. If unticked, tutors can assign and differentiate marks for each student's review. 'Allow students to view author and reviewer names' If left unticked, you probably need to remind students not to put any identifying information in the title, filename, or body of their work. 'Paper(s) automatically distributed by Peermark' This sets the number of randomly allocated papers each student has to review. 'Papers(s) selected by the student' This sets the number of papers a student can choose to review. Students can review a combination of allocated and selected papers. 'Require self-review' If checked, a student has to review their own paper before they can review anyone else's. |
|
|
|
Accessing Peermark reviews
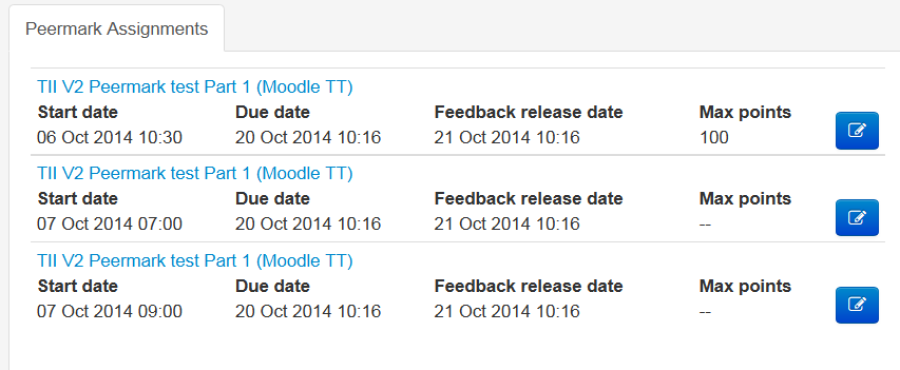
In the 'Submission Inbox' you can see details of all the PeerMark assignments set up for that Turnitin assignment. |
|
Click on the 'Launch Peermark Reviews' icon |
|
If there is more than one Peermark assignment set up for this Turnitin assignment you can select the one you want . |
|
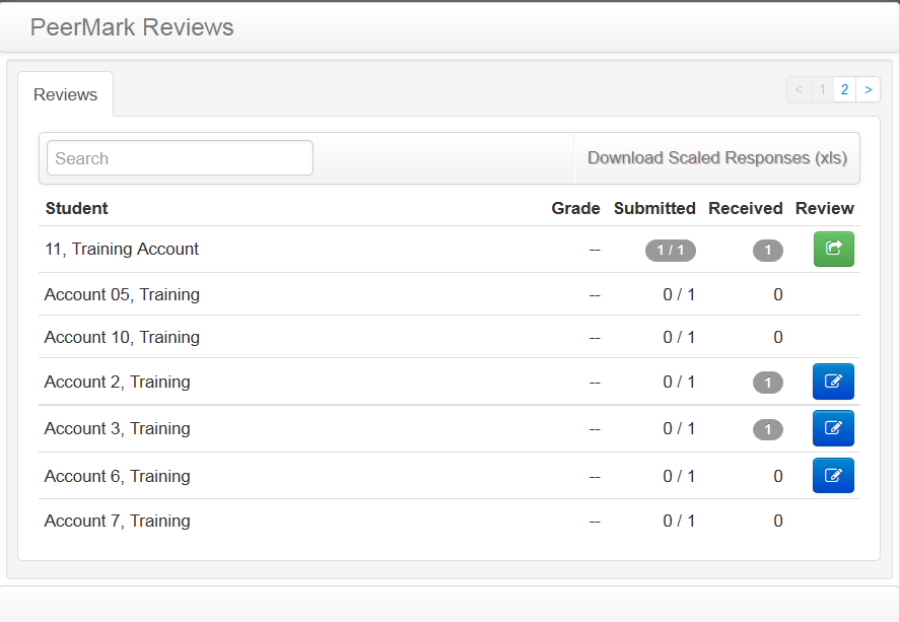
The 'Reviews' tab shows you a list of the students. Students that have submitted a paper will have an icon next to them under the 'Review' column. The 'Received' column shows how many reviews a student's submission has received.The 'Submitted' column shows how many reviews a student has submitted. Clicking on the numbers with a grey background takes you to either the 'Received Reviews' or the 'Submitted Reviews' tab, and from there, clicking on the blue 'tick' icon launches the document viewer.
Clicking on the blue 'Write instructor review' icon in the 'Review' column allows you to write an additional review as the assignment tutor. |
|
|
|

The document viewer
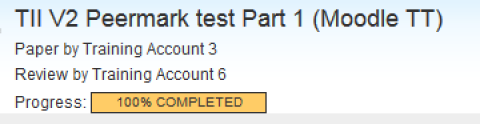
At the top of the document you will see details of which paper you are viewing, and which student has reviewed it. |
|
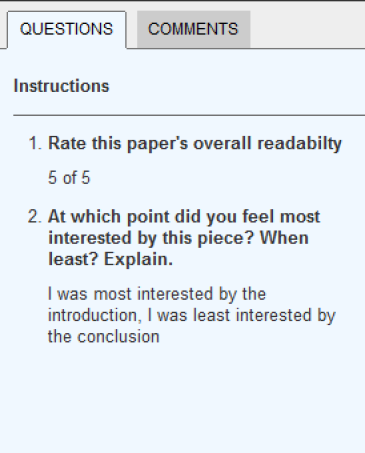
On the right hand column you will see a column with two tabs. |
|
|
|
Marking reviews
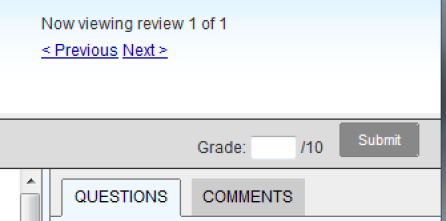
Once the due date has passed, you can go into the document viewer for a particular review and enter a grade in the in the top right of the screen. |
|
HOW are grades released???? |
|
Tips
Saving – Apart from the 'Save & Continue' button on the Peermark Assessment tab, there are no other save buttons within the manager. To exit the manager you click out of the manager somewhere on the greyed out portion of the screen. |
|
|
|
|
|
Bugs
Sometimes, when switching between tabs, you will see an 'Error, you are not authorised to access this resource' message. Click away from the window and reopen it vis the Peermark manage icon. |
|
|
|