The 3i SDC is controlled via SlideBook 6. 
The user manual can be found here.
To locate your cells, first choose your objective, and appropriate sample holder for your samples. Once your sample is appropriately placed on the stage, you can move to the software.
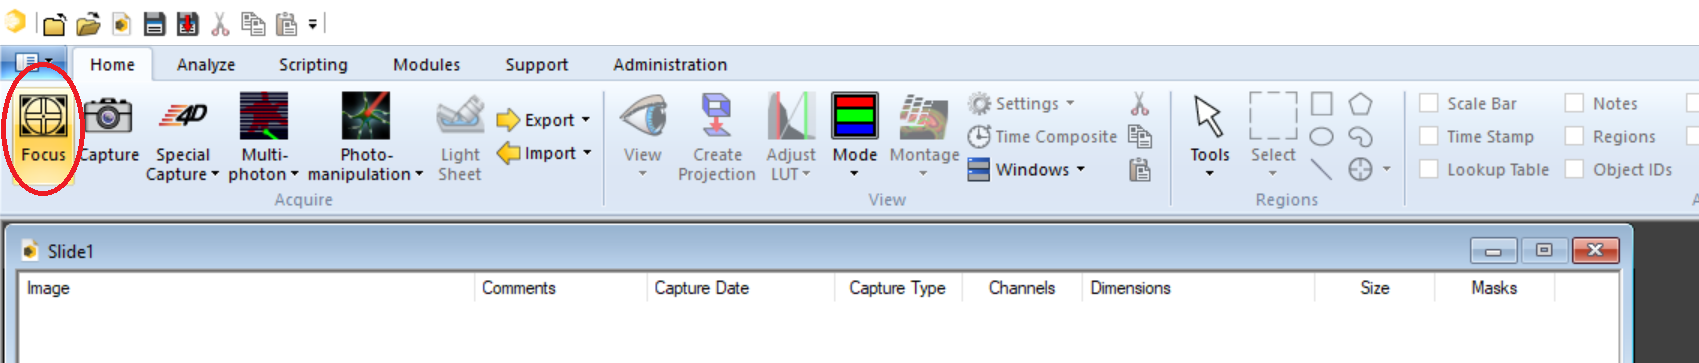
Click on "Focus" to bring up the controls.
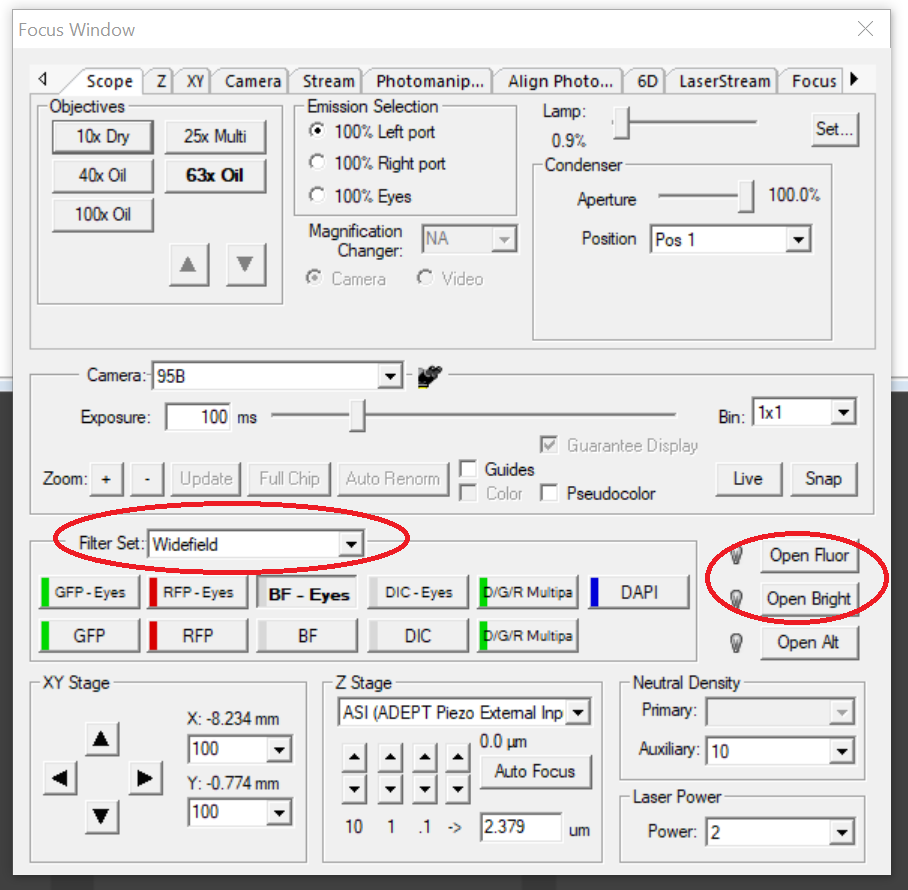
In the focus window, under Camera, select "eyepiece" and under Filter Set, select "Widefield". Open the shutter for a light source, and select the appropriate filter for your sample. "Open Fluor" opens the shutter for the fluorescent light source, and "Open Brightfield" opens the shutter for the transmitted light source. "Open Alt" opens the laser shutter and isn't useful for looking down the eyepiece.
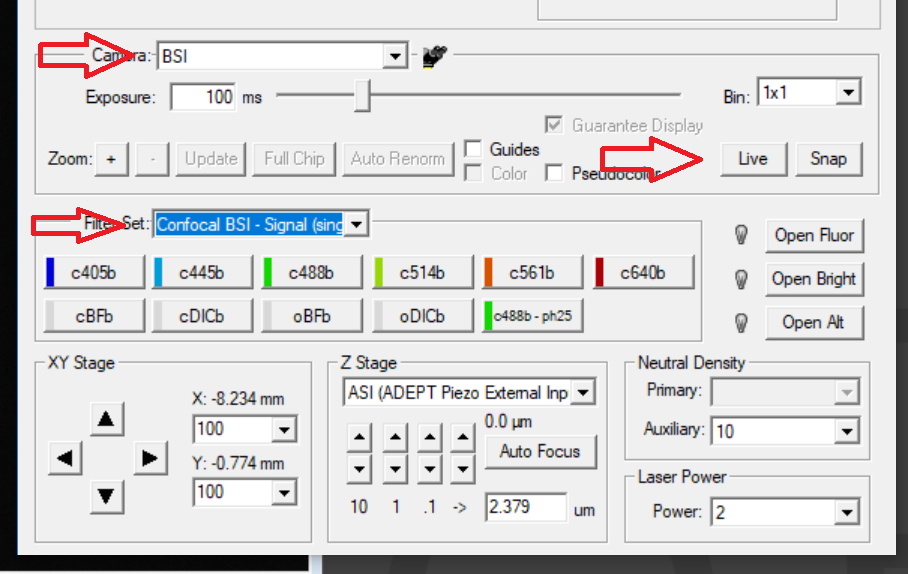
To visualise using a camera, first select a camera, then select a filter set, and then click on 'live' if the camera view isn't already showing in live. There are different sets for different uses and different cameras. Most people would use one or the other camera and not both at once. The 95B is more sensitive than the BSI, but it has larger pixels and hence lower resolution. The "Signal" sets are single emission filters and are designed to give cleaner signals with no bleedthrough and/or crosstalk. The "Fast" sets are triple or quadruple bandpass filters which cut out the excitation wavelengths, but will let bleedthrough and/or crosstalk through to the cameras. If you are doing time-lapses where speed is important, the "Fast" filters may be better, but if you want cleaner signals and don't mind the time it takes for the emission filters to switch, the "Signal" sets may be better. Details on the filters can be found here.